While translating your website can be tricky, translating it into a language that is read from right to left can seem even more daunting. The good news is that the WordPress cms has excellent built in support for different languages as well there being a number of excellent plugins to help.
In this post we are going to look at how to create right to left websites in WordPress, covering both the use of existing themes and those that are created from scratch.
To make your website read coherently from right to left you will usually find that simply switching the direction of the text is not sufficient, you will want to switch the entire layout of the website so that those viewing the site from right to left have the equivalent experience of those viewing from left to right. .
Using a Theme in Right to Left Layout
If your website is built on a pre-built theme then it may have built in support for right to left, or rtl, layouts. There are a couple of ways that you can check this:
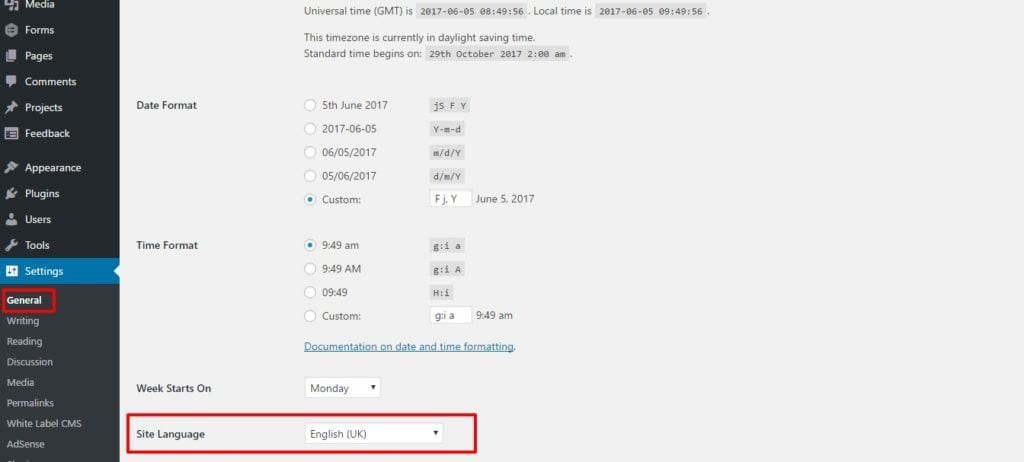
- Go to Settings > General and select an rtl language from the Site Language dropdown and click Save Changes.

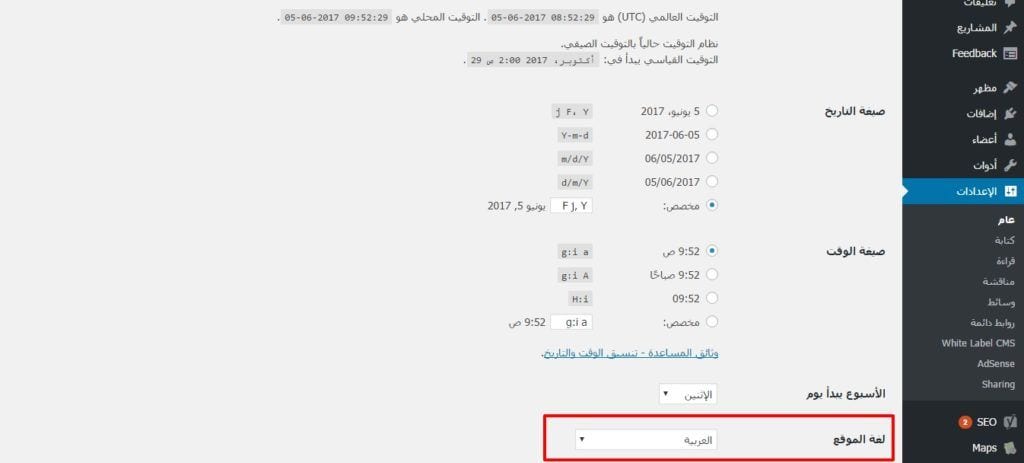
You will see that the WordPress dashboard will now display right to left:

If you now go to your live site it will display with a reversed layout if it supports rtl languages and even if it doesn’t it will change your text to read from right to left.
2. If you are a little more technical you can quickly check if your theme supports rtl by looking to see if there is a rtl.css stylesheet. This will be contained in the root of the theme (usually located in /wp-content/themes/theme-name/ ).
3. There is also a plugin called RTL Tester which you can use to test your site in rtl layout without having your visitors see it on the live site. It is available in the WordPress Plugin Repository.
Converting Your Website to Right to Left Layout
If your website uses a custom theme that doesn’t have rtl functionality you will need to add it to the site. This is not a difficult process, although it can be time consuming:
- If your theme doesn’t have an rtl.css stylesheet the first thing you will need to do is to create one. To do this you should copy your themes main stylesheet (usually called style.css).
- Under the body attribute add direction:rtl; and unicode-bidi:embed;
- Save the file as rtl.css
- You will then need to go through your stylesheet and make the following changes:
- Remove any unnecessary attributes – anything that is not related to the positioning of elements.
- Reverse the values of floats, text alignments and clears so that, for example, float:left; becomes float:right;
- Mirror the values of any paddings, margins and positionings so that, for example, padding-right:20px; becomes padding-left:20px; but also remember that you will need to zero the original value so you would also need to include padding-right:0px;
- You may also need to add reversed versions of your images if they are direction specific.
- Save your stylesheet and upload it to the root directory of your theme.
- Follow the above procedure in WordPress to change the language to an rtl language.
There is some really useful information and examples about the above procedure here: https://codex.wordpress.org/Right-to-Left_Language_Support
If Your Website is Multilingual
If your website is in several different languages then you probably use a plugin such as WPML (which is the standard plugin that we use for multilingual websites). In this case you obviously don’t want to change the site language in your WordPress settings as the site will not always be using just one language. So long as you have an rtl.css stylesheet you shouldn’t need to make any other changes, selecting the country from your language selector will add the rtl declaration to your page header prompting the site to use your rtl css.
